So you want to learn how to make your own beer?
Perfectly understandable, considering that there are plenty of reasons to start making beer in the comfort of your own home— it’s more convenient, for one, and you can control the flavors, aroma, and mouthfeel of your beer.
Maybe you’re tired of buying commercial beer and want something that’s more tailored to your specific taste?
Whatever your reason is, brewing beer at home doesn’t need to be difficult, even for beginners. It may seem intimidating at first, but simply following instructions properly will ensure a successful homebrewing session.
In this guide, we’re covering the basic steps of homebrewing, as well as:
- Ingredients and equipment needed for beer brewing;
- How to bottle and keg your beer;
- Various techniques you can employ for an even more amazing beer;
- Simple brewing tips;
- And much more…
If you’re ready to crack open a cold one…
Then let’s jump right in.
How to Make Beer at Home
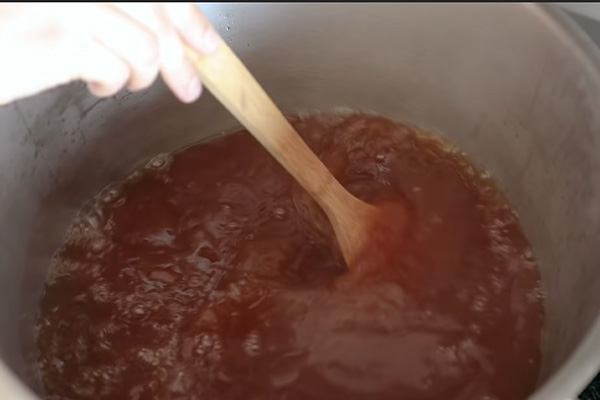
Before you start making your beer, here are the basic ingredients and brewing equipment that you have to prepare first.
Ingredients For All Grain Brewing
WATER
Consisting of an estimated 90-95% of the beer, water is an extremely important part of the brewing process. If you think water won’t affect the taste of your beer, think again; the pH of the water, in particular, affects how your palate perceives the flavors of the beer. Also, if the water you’re using is not free of chlorine and other contaminants, it will result in a weird-tasting beer, so if you don’t like how your tap water tastes, using distilled water is a good idea.
MALT
Next to water, malts make up most of the beer’s composition. They provide the sugar content that is necessary for beer fermentation and the proteins that are responsible for the beer foam. So basically, malts mainly control the flavor, aroma, mouthfeel, and appearance of your beer. Even better, malts also contain plenty of vitamins and nutrients, such as vitamin Bs and potassium. There is a wide variety of malt that you can choose from, depending on the flavor you’re going for. Some examples include wheat malt, rye malt, barley malt, Kilned malt, Pale Ale malt, Biscuit malt, Vienna malt, and Munich malt.
HOPS
What is referred to as hops are the cone-shaped green flowers of the female plant Humulus lupulus. Inside the flowers, a gland called lupulin is found. This yellow gland contains essential oils and hop acids that give beer stability and bitter flavor, balancing the malt’s sweetness. They can also add a fruity, citrus, or floral flavor to the beer, as well as enhance its aroma.
YEAST
Yeast is the most vital component of the fermentation process; it works by converting sugar into carbon dioxide, which in turn creates alcohol and carbonation. Simply put, without yeast, your beer won’t have any alcohol at all.
Brewing Equipment
BREW KETTLE
The brew pot or kettle is the most important equipment in making your own beer; without it, you wouldn’t even be able to do the first step. The size of the brewing kettle will depend on how much beer you want to make; we recommend getting one that has at least 5 gallons capacity.
MASH TUN
Unless you’re using the Brew in a Bag, or BIAB brewing method, you will need a mash tun. A mash tun, also known as lauter tun, is an insulated container in which the grains and water are mixed to produce wort; the water’s temperature is controlled throughout the process.
FERMENTER
A fermenter is simply a vessel where you store the wort during the fermentation process. You can use a carboy (plastic or glass), a fermentation bucket (stainless steel or plastic), a conical (plastic or stainless steel), or a corny keg as a fermenter.
These four are the essential equipment for brewing beer. Some additional equipment that you will also need are a mash paddle, a hot liquor tank, a thermometer, a sanitized airlock and stopper, and a wort chiller.
Brewing Process
SANITIZING
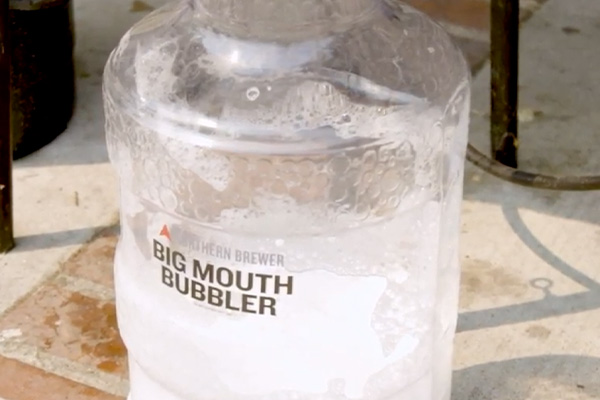
It’s extremely important to use a sanitizing solution for all the equipment you’re going to use before you begin the beer brewing process. This step is vital in order to prevent bacteria, molds, and microorganisms from causing health hazards and ruining the taste of your beer.
MASHING
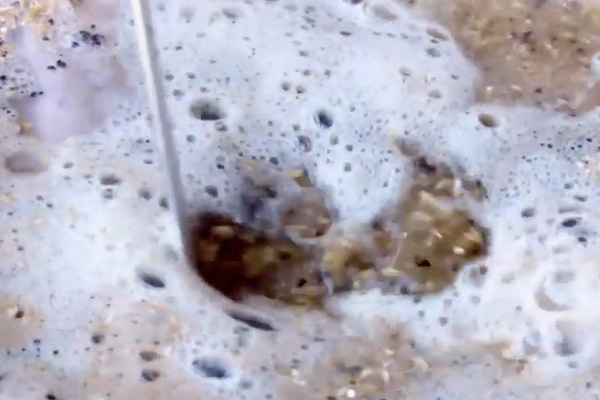
The first step in the brewing process is mashing. Mashing is the process where you steep grains in hot water for 60 minutes to extract sugar from malted grains, producing what is called wort, which is basically unfermented beer.
To start, heat your strike water. The general rule is to get 1.3 quarts of water for a pound of grain and that you should heat your strike water 10-15 degrees Fahrenheit hotter than your preferred mash temperature.
The standard mash temperature is between 148 degrees Fahrenheit to 158 degrees Fahrenheit; select the temperature that suits your preference. If you prefer a beer that has a lighter body and mouthfeel, mash on the low end (148 degrees Fahrenheit), but if less strong beer with an increased body is more your taste, then go ahead and mash on the high end (158 degrees Fahrenheit). Just make sure not to exceed 168 degrees Fahrenheit!
Once your water is completely heated, transfer it to your mash tun and follow it with the grain. Mix well to avoid any clumps and to maintain the temperature throughout the whole process. Leave it for 60 minutes.
While waiting, you can now heat your sparge water for about 175 degrees Fahrenheit. Once you’re done, move it to a hot liquor tank or any container that will keep it heated.
After 60 minutes, proceed to mash out. This step entails pouring near-boiling water into the mash to raise its temperature to about 167-170 degrees Fahrenheit and stirring it well. The purpose of this is to make sure that the mash won’t get cold as well as to stop the enzymes from working further to convert starches into sugar. This process also results in a less thick and gummy mash. Leave for 10 minutes.
Afterward, separate the sweet wort from the spent grain— this process is called lautering. After that comes the sparging, which is the process of rinsing the mash using hot water to remove any remaining sugar from the mash tun; this is done to maximize the sugar we extract from the grain.
Now that you’ve created the wort, it’s time to boil the wort.
WORT BOILING
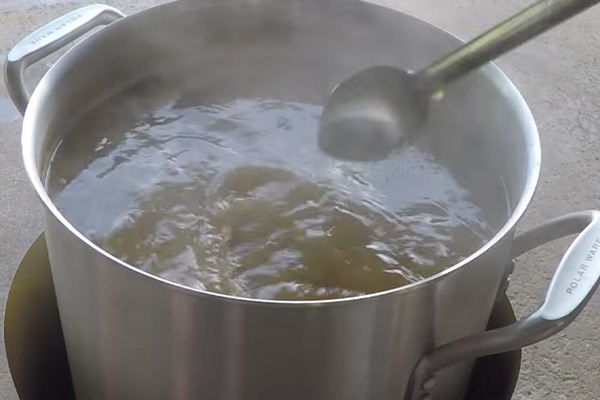
The next step is to let the wort boil for 60 minutes. While the wort is boiling, add the hops. Turn your heat source up to high for the wort to boil well.
Next, cool down the wort to a yeast-pitching temperature of around 50-75 degrees Fahrenheit. There are two ways to do this. First is the Ice Bath method, which is simply placing your pot in an ice water-filled sink. The second is to use your wort chiller, which is the better option for larger quantities of wort. Use your sanitized thermometer to check if you’ve achieved the target temperature.
Now on to fermentation.
FERMENTATION
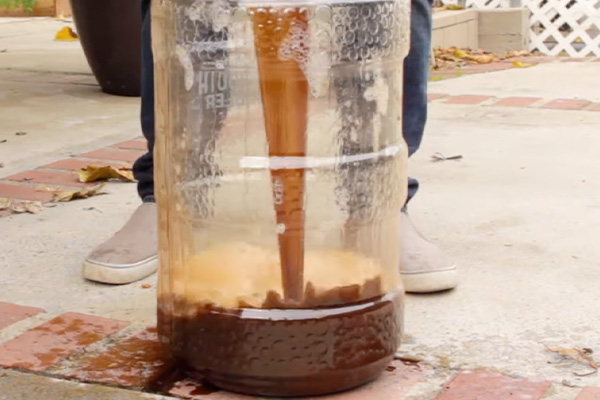
After the wort has been boiled and chilled, transfer it to your chosen fermenting vessel, whether it be a glass carboy or a plastic bucket. Use a strainer to leave out the hops.
Because the boiling process has removed most of the oxygen from the wort, it’s crucial to put some oxygen back in, as oxygen is necessary for yeast to do its job in the fermentation process.
You have two options on how to do this. If you don’t want to spend more money, simply shaking your fermenter for about 5 minutes will do. The downside of this is that it doesn’t guarantee that it will provide your yeast with optimal oxygenation.
For this reason, we recommend investing in a good oxygenation system. A carbonating diffusion stone, an oxygen tank, or easily-accessible disposable oxygen cylinders will all do.
After putting oxygen back in your wort, it’s time to pitch the yeast. Simply sprinkle the yeast all over the wort, then shut your bucket or carboy nice and tight. Place the airlock on top of your fermentation vessel, and wait for the wort to ferment for 14 days.
Now on to the fun part…
KEGGING AND BOTTLING
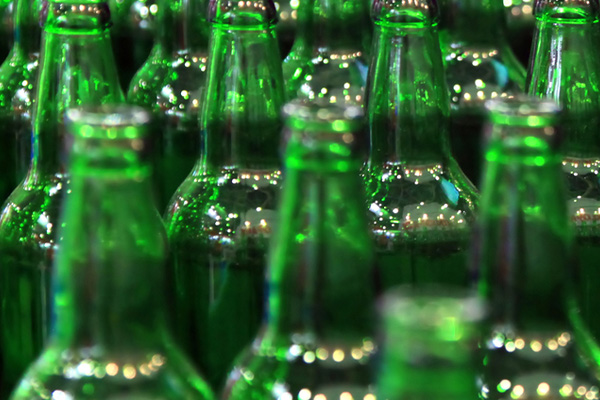
After two weeks have passed, check if you can’t see any activities on the airlock; that means that the fermentation has been completed. You have two options when it comes to packaging your beer: Bottle or keg.
Like all things, both have their pros and cons. For homebrewers who want a quicker process and don’t mind spending extra on equipment, go for kegging. If you have the whole day for yourself and want a more cost-effective method, bottling is the way to go.
Whatever your preferred method is, we got you covered. Let’s start with bottling.
For bottling, here are the things you will need:
- Bottles
- Bottle caps
- A bottle capper
- A pack of priming sugar
- 3 or more buckets
- An auto-siphon
- A bottling wand
But first, we need to add some fizz to your beer. Begin by getting a saucepan, filling it with a cup of water, and boiling the priming sugar. How much priming sugar you will use will depend on the level of carbonation you prefer. Use the entire bag of the priming sugar if you want a higher amount of carbonation in your beer.
Sanitize all the bottles and equipment that you’re going to use. Then transfer your beer from your fermenter to the bottling bucket using the auto-siphon. No one likes stale beer, so to prevent your beer from going this way, do your best to avoid splashing during the transfer.
Now add the priming sugar to the bottling bucket, which now contains the beer. Stir just enough for the sugar to mix well with the beer. After that, you can go ahead and start bottling your finished beer. Seal your bottles with bottle caps using the bottle capper.
Remember to avoid storing your beer at a high temperature. Any higher than 70 degrees Fahrenheit, and the bottles are very likely to explode, so it’s best to go lower than 70 degrees Fahrenheit.
Now, if you’re not a fan of the bottling method, which can be time-consuming, then kegging would be a better option for you.
These are the equipment that are needed for kegging:
- A Corny or soda keg
- An auto-siphon and siphon hose
- A liquid tubing
- A CO2 hose/gas tubing
- Hose clamps
- A CO2 tank and regulator
- Ball-lock connectors
- Beer faucet
There are two types of Corny keg, Ball Lock and Pin Lock keg; we personally like using the Ball Lock kegs as they have a manual pressure relief valve or PRV. Their lids also come with pull rings that enable you to manually vent your keg.
After sanitizing your equipment, re-assemble your keg. Next, carbonate your beer. This time, instead of using priming sugar, we will use the force carbonation method.
Begin by transferring your beer from the fermenter to the sanitized keg. Close the keg, then attach the regulator and the CO2 hose to your CO2 tank; use the hose clamps so that you can be sure nothing will leak.
Take the other end of the CO2 hose and attach it to the gray connector (the gray connector is for gas, the black one for liquid), then connect it to the post on top of the keg that is meant for the gas to go in. The aim is to purge out the oxygen from the keg before we move the beer to the keg— remember that oxygen is the enemy after the fermentation process. Lift the PRV, and let all the oxygen out.
Now you’re ready to transfer your beer to the keg. Use the liquid tubing for this and make sure to avoid any splashing, as splashing creates oxygen. After transferring your beer, close the keg, turn on the CO2 tank and set the pressure on the regulator.
Keep in mind that if the PSI is too high, your beer will become too foamy, and if it’s too low, you’ll end up with flat beer. We’d say around 8-12 PSI is great; we personally like to set ours to 12 PSI. Purge out the oxygen that came inside the keg during the racking, wait for 30 seconds, then repeat the purging process. Wait for about a week.
After a week, your beer is ready to be served. For easy dispensing, install the beer faucet on your keg, and enjoy your beer!
Home Brewing Techniques
And here are some more techniques that you can do to make your beer even better.
MAKING A YEAST STARTER
A great-tasting beer wouldn’t be complete without yeast. However, a pack of yeast has limited cells that are just enough for low-gravity beers. What if you want to make high-gravity beer? Sure, you can always buy more packs of yeast, but that wouldn’t be economical, especially if you’re going to brew large volumes of beer.
That’s where yeast starter comes into the picture.
A yeast starter is basically a small batch of wort that allows yeast cells to reproduce. That means more yeast cells and faster and more improved fermentation, which results in a higher-quality beer.
If that interests you, then scroll down to know how more.
Ingredients needed:
- Water
- Dry malt extract (DME)
- A pack of yeast
Equipment needed:
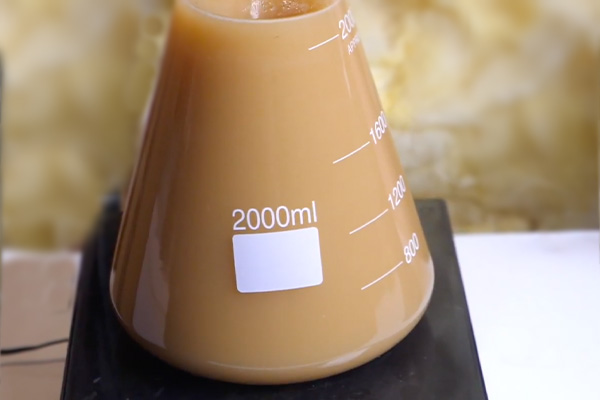
- A vessel or container. We recommend getting a borosilicate glass flask (unlike regular glass, borosilicate glass can handle heat without shattering). The size of the flask will depend on the amount you’re going to brew. For a 5-gallon batch of beer, a 2-liter capacity flask will do.
- A stir plate
- A magnetic stir bar
- Aluminum foil
Directions:
- Clean and sanitize all the equipment.
- Start by taking the yeast you’re going to use. Smack the pack of your Wyeast activator if you’re using one.
- Now pour water and the dry malt extract into the flask. The general rule for the dry malt extract measurement is to use 1 gram for 10 ml starter wort. In short, if you need a liter of starter wort, you will have to use 100 grams of dry malt extract. The amount of water should be just enough to reach your target volume.
- Mix the water and DME and heat the mixture to a boil. If you’re not using a borosilicate flask, you can take a saucepan, transfer the mixture there, then boil it. The boil should last for about 10 minutes.
- After 10 minutes, turn off the heat, then place aluminum foil on top of the flask or cover the saucepan; the steam will help with sanitization.
- To cool it, place your vessel on your sink that’s been filled with ice water. You can add ice cubes to make the cool-down process quicker; wait until it cooled down to fermentation temperature.
- Next, use a sanitized funnel to transfer your wort from the pan to your fermentation vessel. There’s no need to do this if you’re using a flask.
- Using the funnel again, remove the aluminum foil on top of your vessel and pour the yeast in.
- Cover the top again with aluminum foil, place the vessel on top of the stir plate, and let it sit there for 24 hours.
- After 24 hours, remove the vessel from the stir plate and place it inside your refrigerator or in any area with a temperature around 65-70 degrees Fahrenheit.
Just remember to make the yeast starter 24 hours before you will need it for your beer so that the yeast cells will have more time to reproduce.
DRY HOPPING
Dry hopping refers to the process of adding hops to the beer after the first fermentation to add more flavor, aroma, and a hoppier taste to your homemade beer.
Unlike the hops you’ve added during the boil, these hops won’t add bitterness to your beer as you won’t extract the alpha acids that are responsible for the bitter taste.
This technique is widely used for various beer styles, but most commonly used for pale ales, particularly India Pale Ale. It’s perfect for fans of hoppy beers.
The dry hops you will use will depend on your preference. If you want hops that are minimally processed and will give a fresher aroma to your beer, leaf hops are your best bet; on the other hand, pellet hops are generally more affordable, take up less space, and have a higher hop utilization, so if those are your priorities, go for pellet hops.
After you’ve chosen which type of hops you’re going to use, it’s time to select a hop variety. Hops come in a wide range of varieties, so no matter what your taste is, you’ll surely find one that suits your taste. Some examples of hop popular hop varieties are Cascade, Citra, Centennial, Simcoe, and Hallertau.
One thing to remember is that, ultimately, you want to get the oils from the hops, which is what’s going to give more flavor and aroma to your beer. As we all know, oils don’t mix with other liquids and will only sit on top of the beer, something you don’t want to happen if you want the beer to be infused with the flavor-enhancing oils from the hops.
For this reason, we highly recommend placing the hops in a bag or container of some kind to make the hops drop to the bottom of your vessel and mix with your beer. Some great examples are a hop sock, a simple drawstring nylon mesh pouch, a muslin bag, or even tea infusers will do a great job. Adding some marbles or anything that can add weight inside the bag or container is a good idea as well; just make sure they’re sanitized.
As for how long will you have to leave the dry hops in the beer, it will vary depending on the beer style, but if you want to be on the safe side, go for 3-7 days prior to bottling; this ensures that you get a fresh hop aroma without losing that hoppy flavor. Don’t leave the dry hops in for more than 7 days if you don’t want to risk your beer tasting too grassy.
STEP MASHING
Step Mashing is a method where you mash your grist in two or more steps, and the temperature of the mash progressively increases with each step until reaching temperatures of 147-156 degrees Fahrenheit. It was invented back when highly modified malts weren’t available yet. It’s different from the Single Infusion Mashing, which we discussed above, in that Step Mashing involves multiple mash rests and different temperature ranges.
In this day and age where well-modified malts are widely accessible, you might wonder if Step Mashing is still necessary. Well, it might not exactly be an essential step, but it’s a very useful technique for all-grain brewers who want to have more control over the mash profile of their wort or when brewing certain styles of beer that require the use of under-modified and unusual malts, such as a Continental Pilsner malt.
Step Mashing is also helpful when dealing with gummy grains, as this process breaks down proteins and beta-glucans, which are the gummy portion in the barley’s cell wall.
If you want a more distinct flavor and variety in your beer, Step Mashing is for you.
Here are the most common rests in a Step Mash, as well as the active enzymes, and at which temperature do they work:
Acid Rest
Lowers mash pH and breaks down glucan that might result in a gummy mash. Produces lighter and softer beer.
Active enzymes:
- Phytase (86-126 degrees Fahrenheit / 30-52 degrees Celsius)
- Debranching (85-113 degrees Fahrenheit / 30-45 degrees Celsius)
- Beta Glucanase (95-113 degrees Fahrenheit / 35-45 degrees Celsius)
- Peptidase (113-131 degrees Fahrenheit / 45-55 degrees Celsius)
Protein Rest
Gives a richer, thicker body to your beer. And because protein provides plenty of haze to your beer, this step is important for high clarity. This step also helps avoid stuck sparges
Active enzyme:
- Protease (113-131 degrees Fahrenheit / 45-55 degrees Celsius)
Saccharification Rest/Starch Conversion Rest
Converts starches into sugar. The enzyme Beta Amylase produces maltose, which is fermentable sugar, while Alpha Amylase breaks apart starch molecules by attacking at random, helping the Beta Amylase to easily produce more maltose, which results in a sweeter and more full-bodied beer.
Active enzymes:
- Beta Amylase (131-150 degrees Fahrenheit / 55-66 degrees Celsius)
- Alpha Amylase (154-162 degrees Fahrenheit / 67-72 degrees Celsius)
(Credit: “How To Brew” by John Palmer)
COMMON OFF FLAVORS IN BEER
There will be times that you’ll encounter unpleasant or “off” flavors in your beer. Sometimes, the unusual taste is a naturally-occurring one resulting from fermentation and is nothing to worry about. However, a lot of the time, these off-flavors are present in high concentrations, negatively affecting the taste of your beer, and definitely shouldn’t be there.
Here are some of the most common off-flavors in beer and how to avoid them from ruining your drinking experience.
Diacetyl
This off-flavor can be perceived as ranging from caramel-like to buttery or milky. At very high levels, its flavor brings to mind buttered popcorn. While it’s acceptable at low levels in certain beer styles, such as Czech Pilsner, English Bitter, or Scotch Ale, it’s considered an off-flavor in most beers. Diacetyl can be caused by bacterial contamination (namely the Lactic acid bacteria Lactobacillus and Pediococcus), Alpha acetolactate, yeast, and too low heat during the fermentation process.
How to avoid: Practice proper sanitation to avoid contamination. When fermentation is almost finished, raise the temperature a little so that the yeast can properly reabsorb the Diacetyl. Also, there’s still a risk of Diacetyl even after your beer has been bottled— Alpha acetolactate occurs in bottled beers that are stored in a warm environment, so keep your beer chilled after bottling to prevent this.
Hydrogen sulfide (H2S)
Hydrogen sulfide is particularly unpleasant, as it presents as a rotten egg-like taste and a smell like a sewer. During early fermentation, yeast produces Hydrogen sulfide naturally; CO2 will help remove it out of the beer during the process. But if the yeast is in poor health, it remains present in the final beer, resulting in the aforementioned nasty taste and smell.
How to avoid: To avoid Hydrogen sulfide, make sure that you use healthy yeast and that the wort is sufficiently oxygenated.
Isoamyl Acetate
While we love a fruity flavor on most drinks and beers like German-style wheat beer (i.e., Bavarian Hefeweizen) and most Belgian Ales, we don’t appreciate its presence in beers most of the time, especially in high concentrations— and we’re sure you don’t either. Isoamyl Acetate is the chemical compound that causes the fruity off-flavors you sometimes encounter in your beer. It can taste like banana, pear, grapefruit, or strawberry but can also give off a strong smell like that of a nail polish remover. Two of the most common causes of this are stressed yeast and the underpitching of yeast.
How to avoid: Something as simple as choosing the right yeast and yeast amount for the style of beer you’re brewing can avoid overproduction of Isoamyl Acetate. Before you start the fermentation process, make sure to aerate the wort well. Conversely, take care not to aerate the wort once you’ve started the fermentation process.
BEER CLARIFICATION
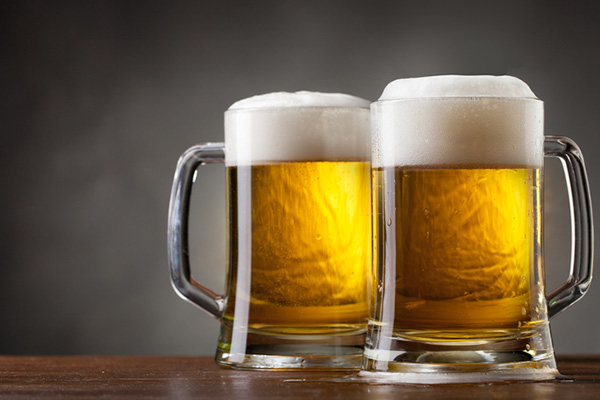
In general, beer clarity isn’t really necessary for homebrewed beers, but some beer styles just call for a clearer appearance. Or maybe clear beers are just your preference. Whatever your reason is, here are some tips and tricks for a refreshing, clear beer.
Choosing ingredients wisely
First and foremost, if your goal is high clarity in your beer, you must know which ingredients are the best to use. Avoid protein-rich grains like oats and wheat, as they can leave behind a “Protein haze,” which gives off a permanent haze. On the other hand, choose a yeast that falls out of suspension, one that has a high-flocculation rate, so that there would be no yeast floating around that can impart cloudiness to your beer.
Utilizing clarifying additives
If you really want a crystal-clear beer, it’s not enough to get the right ingredients; you can also take advantage of various additives to help achieve maximum clarity. The most common additives are finings, which work by increasing particle size so that they can easily fall out of suspension. Finings can be classified into two categories:
Kettle Finings/Copper Finings
These are finings that are usually added 10-15 minutes prior to the end of the boil. These two are the most popular choices for Kettle Finings:
- Whirlfloc tablets
- Irish moss (comes in powder, tablet, and granular forms)
Fermentation Finings
On the other hand, Fermentation Finings are added at the end of the fermentation process. Here are some examples of Fermentation Finings:
- Isinglass
- Gelatin
- Biofine Clear
- Super Kleer
- Polyclar™ (PVPP)
Use a wort chiller
Another way to increase beer clarity is to aim for a proper “cold break,” which refers to when proteins, tannins, and other properties that could make your beer cloudy, flocculate when your wort is chilled. In order to achieve this, you have to chill your wort as fast as you can, and a wort chiller is definitely up to the task, so invest in one.
PERMANENT HAZE
On the other side of the coin, some brewers prefer a nice, cold glass of hazy beer; after all, very hazy IPAs have recently risen to popularity amongst craft beer enthusiasts. There are also fans of beer styles that are supposed to be cloudy. If you’re one of those, then this section is for you.
But in order to create haze, it’s important to know what things cause a haze to form. Read on to know more.
What makes a beer hazy?
There are several reasons for turbidity, which just means haze in brewing terms, to form in your beer. Here are some of them.
- High amounts of protein and polyphenols in grains
As we’ve mentioned above, grains that are rich in proteins will create a “Protein haze,” so if you’re after that, go for grains that are high in protein. Also, when combined with the compound polyphenols, the two will form a “colloidal haze,” where large molecules that get suspended within the beer and result in a haze, are produced.
- Yeast suspension
Near the end of the fermentation process, the yeast basically has two choices, to remain in suspension or to drop at the bottom; by now, you already know that when the yeast has a high flocculation rate, it will do the former. If you want more haze, opt for low- to mid-flocculating yeast.
- Dry hopping
There are many good reasons to dry-hop, and one of them is creating a haze in your beer. Dry hops not only give flavors to your beer, but when used in large quantities, they also contribute plenty of polyphenols, resulting in a “Hop haze.”
- Low temperature
When beer is cooled to a very low temperature, something known as a “Chill haze” can occur. It’s basically just another colloidal haze, but the difference this time is that a Chill haze only occurs at certain temperatures, usually at 1.6-0 degrees Celsius. The good news for hazy beer fans is that a Chill haze can develop into an irreversible, permanent haze.
Brewing Tips & Tricks
- Make proper sanitation one of your top priorities. Equipment that is not well-sanitized can cause all sorts of problems, from health hazards to off-flavors in your beer.
- Choose high-quality ingredients that are suitable for the style of beer that you’re brewing.
- To save money in the long run, opt for a bigger kettle. Even if you’re just starting out, if you’re really serious about homebrewing, you will need a bigger kettle in the future.
- Just like cooking, stick to simple beer recipes first and learn things along the way.
- Glass is the way to go when it comes to your fermentation vessel. Glass fermenters may be a bit pricier, but they have better longevity, are easier to clean, are not as prone to contamination as their plastic counterpart, and are more leak-proof.
Conclusion
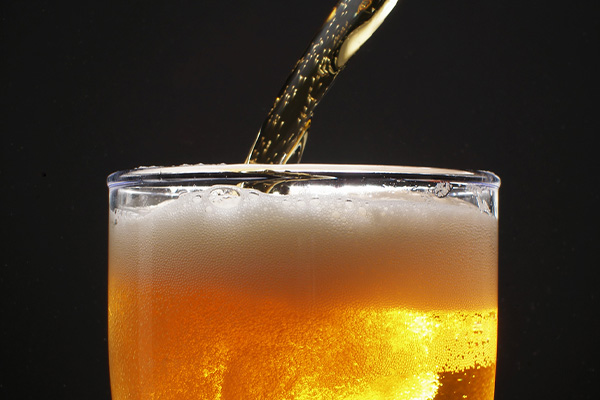
See? Homebrewing is quite easy, isn’t it?
This is a simple, basic guide for all-grain brewing at home that any beginner could follow. Now you can finally create your own beer that perfectly suits your taste and preferences. Once you’ve mastered the basics, you can move on to more complex beer recipes.
We wish you luck in your homebrewing journey, and we hope that you find this article helpful.
Happy brewing!


