Today, kegerators are gaining in popularity. Who doesn’t enjoy the convenience of having fresh draft beer delivered to their door? There’s something for everyone from under-counter kegerators to the classic man cave kegerator. In the Pacific Northwest, draft beer is popular.
Nonetheless…
The cleanliness of the beer line is an important aspect that is often disregarded. Cleaning your kegerator beer lines is something that every homebrewer should perform. Without a beer line cleaner, it can be difficult.
As a result…
It may be tempting to skip it. The danger arises from the draft beer that sits in the kegerator’s lines. Stamped beer provides an ideal environment for bacteria and yeasts to thrive.
With this in mind…
If you have a kegerator, it’s a good idea to clean the beer lines after each keg. Bacteria, yeast, sediment(or beer stone), and mold can form in kegerator beer lines if not kept clean. All these things will taint the flavor of your delicious beer and give it a bad odor.
An infection will not only spoil your kegged homebrew, but it may also get you sick. Every few weeks, you should clean the kegerator lines. Normally when switching to a new keg, but even more if the lines aren’t used regularly. If you don’t have a beer line cleaning, this can be a big pain.
That is the reason why…
Cleaning the kegerator beer lines regularly is a must-do task that should not be overlooked. We’ve put up a thorough guide to cleaning beer lines. This will go over each stage in great detail.
Moreover…
Regular cleaning of your kegerator isn’t as tough as it may appear. It can take as little as 15 minutes if you have the correct tools! Cleaning your kegerator regularly will benefit both you and your kegerator.
So, let’s get started.
Tools
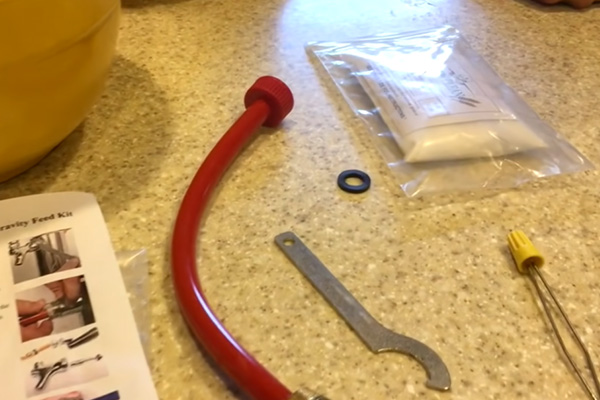
Every kegerator owner must have essential tools to keep their kegerator running. Malt and yeast particles accumulate inside the beer lines after repeated use. Foaming will result, providing a danger of contamination. The devices for cleaning and sterilizing your beer lines are important to upkeep. Here’s everything you’ll need to get started cleaning a kegerator beer line:
- Faucet wrench
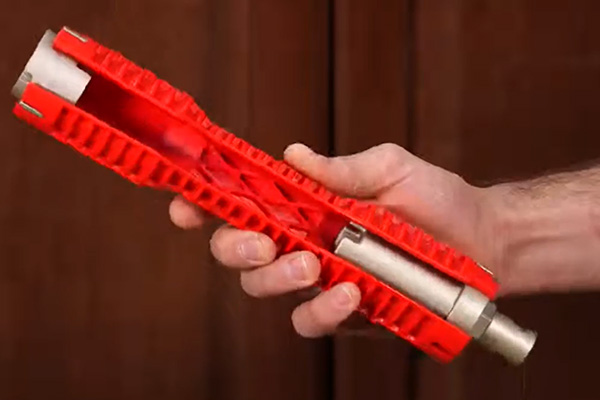
You’ll need the faucet wrench to remove the beer faucet. This resembles half of a slender hook-shaped wrench. The wrench will allow you to remove the faucet from the beer line and the beer tower. This will allow you to clean your kegerator.
- Beer line or kegerator solution
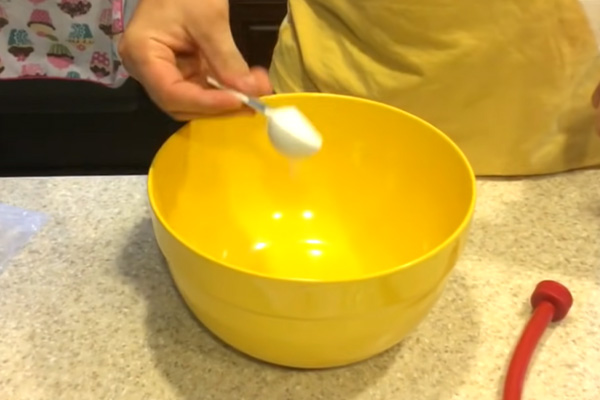
To keep the lines in your kegerator clean, use a beer line cleaning solution. You can also use a draft beer system free of yeast and mold. Before cleaning and rinsing the beer faucet, it’s good to soak it in a cleaning solution for a bit.
- Beer line cleaning kit
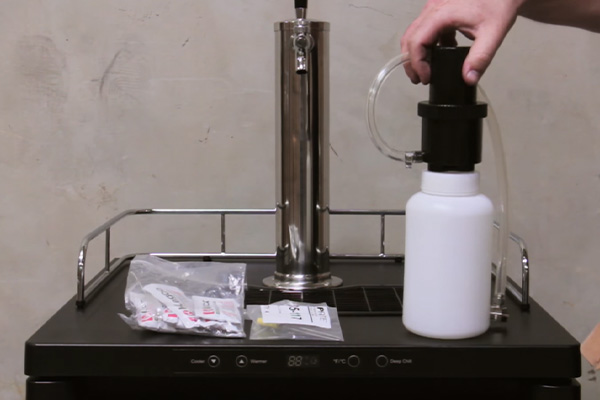
There are many cleaning kits available. A kegerator cleaning kit includes key components. A hand pump cleaning kit is one of them. The cleaning solution is number two. This could be a liquid or powder.
Apart from that…
The third item is a cleaning faucet brush, which is used to clean the faucet opening and the inside of the faucet. A spanner, often known as a beer wrench, is number four. This is used to loosen and tighten beer faucets on a beer tower. A cleaning kit’s most important components are these.
- Soap
Washing the surfaces around the tap with soap and water is good, but the lines need a more thorough cleaning. Cleaning chemicals attack and dissolve dirt, but soap and water do not. Wipe off all surfaces with unscented soap and warm water.
Related article: Home Beer Tap Installation
Maintaining the Exterior
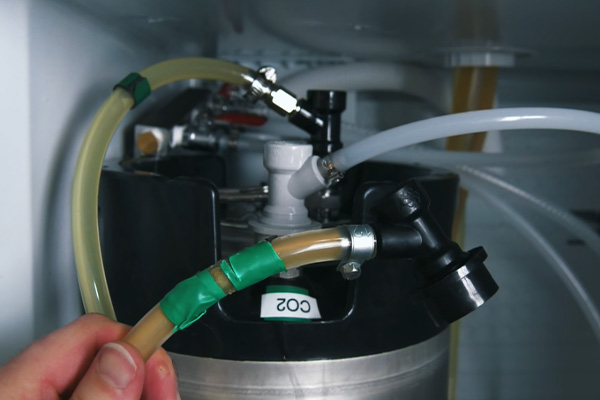
You should clean the beer lines and the outside at least twice a week. This includes a full cleaning using an acid-based solution once a quarter. Cleaning the beer lines needs a specialized kegerator beer line cleaning kit. So make sure you get one along with your kegerator.
- Clean your kegerator after each keg
After each usage of your kegerator, make sure you clean it thoroughly. This aids in the removal of any remaining residue from the line and faucet. Cleaning after each usage keeps you from contaminating other brews. If you don’t, you can end up with a bad-tasting beer, which would be a waste.
Cleaning your lines is recommended every time you change out a keg or even every five weeks, whichever comes first.
- Turn off the kegerator.
Close down the kegerator before you begin cleaning. Remove the kegerator from the circuit. Check the CO2 is off. Close the regulator, disconnect the tap, and remove the keg altogether.
Remember:
You must do this to ensure that there is no interruption during the beer line cleaning. This will prevent any unnecessary issues.
- Wipe down the surfaces with mild soap and warm water
Begin by cleaning the kegerator’s outside. Make that the tap, lines, spill tray, regulator, and tank are all clean. Wipe down the inside of the cooling unit as well. Clean the internal surfaces, including the beer lines, spigot, and tap. Wipe off all surfaces with unscented soap and warm water.
Cleaning the Removable Parts
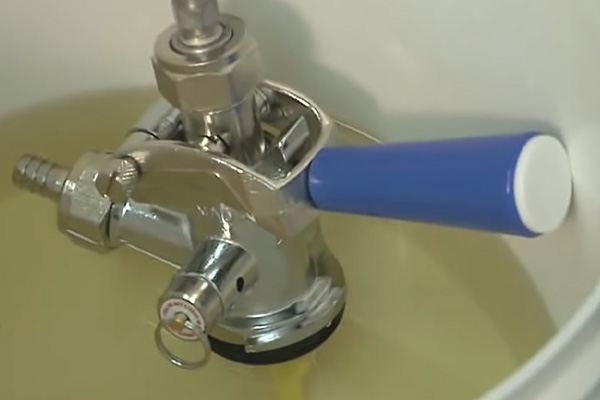
You should clean the removable parts to remove any beer residue from them. This will ensure that your other beers are not tainted. So today, we’re going to clean the faucet area all the way down to its parts. And runs all the way down into your kegerator right here.
- Purchase a beer line cleaning kit
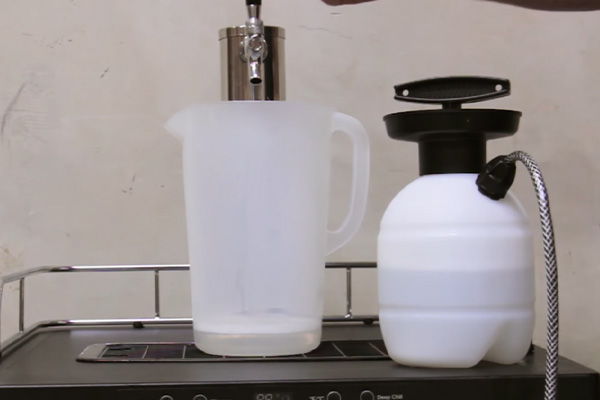
You may want to buy a beer line cleaning kit. They come with a bottle, pump, and hose that connects to your beer lines. They also come with a cleanser that will sanitize your beer lines. A kegerator cleaning kit comes with a few important pieces. Some people make their own cleaning pumps with quart bottles or soda kegs and tubes.
However…
You can buy hand-pumped kits, connect to your CO2 pump, or have a pressurized pump.
- Disassemble the faucet and remove the keg coupler
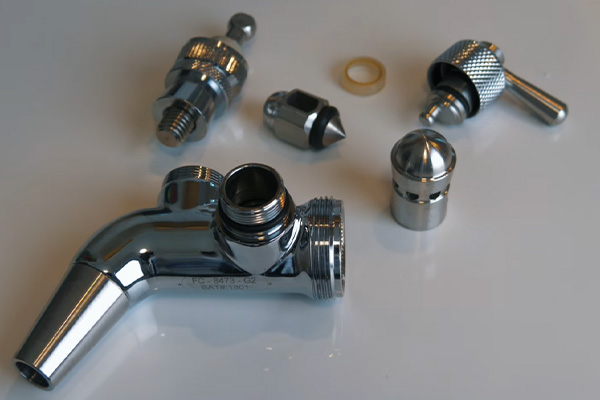
Remove the keg coupler and disassemble the faucet. Every two weeks, all faucets should be completely dismantled and cleaned. Make sure to replace any damaged seals or gaskets. Disconnect the faucet and keg coupler before you begin disinfecting your kegerator. To loosen the faucet, use the faucet wrench with your kegerator.
And then…
To loosen it, twist it to the right. Rotate it off with your hands once it’s loose. Disassemble the faucet. There will be around five different parts depending on your faucet. Connect the keg coupler to the beer lines on the opposite end.
- Soak the faucet parts and keg coupler in a cleaning solution
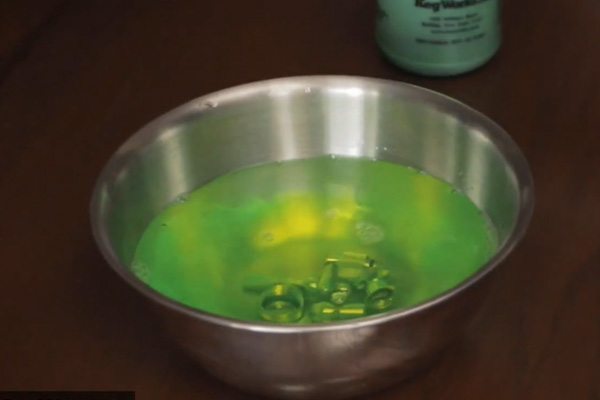
In a dish of warm water, soak the faucet components and the keg coupler. Clean the beer line or the kegerator. Allow time for the components to soak. Place the faucet, as well as all the other components, in the bowl. Don’t forget to include the washers! They’re crucial as well.
Apart from that…
You’ll prefer to keep it for 30 minutes to an hour to ensure they’re all sitting there. Ensure that it soaks up all the beer residue from the faucet.
- Scrub away any debris
If the faucet components or keg coupler are lathered with debris, scrape them clean with a brush. Any material left on the components could contain bacteria, contaminating your brew. Make sure you get all the residue out. After that, you’ll need to drain the water from the pieces. Make sure none of the parts are flushed down the toilet.
Cleaning the Beer Lines
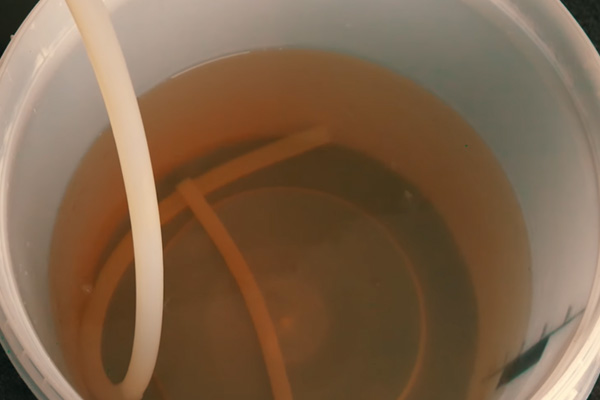
You’ll notice water and some residue beer coming out of the beer line as it’s being cleaned. If you’ve followed the instructions well, it should be poured into the bucket. And then you won’t have to worry about it. To achieve better cleaning, pump the cleaning solution into the beer line many times.
However…
If you don’t have enough time, go through the cleaning process at least twice more. When you’re finished, take the ball pin out of the keg coupler and let it down to rest for 65-90 minutes.
- Prepare the solution
Now you must make the cleaning solution for the kegerator beer line. To clean a kegerator line, combine the sanitizing solution and pour it into the bottle or bucket. Read and follow the specific instructions for your beer line cleaner.
You’ll need to mix the powdered cleaning agent with water in a separate bottle for this. Ensure that the water and cleaning chemicals you use are in the proper proportions. The cleaning compound’s potency determines the exact ratio.
Nevertheless…
As a standard guide, use a gallon of water for every tablespoon of the cleaning agent. You should use hot water to make an effective cleaning solution.
- Attach the bottle to the beer lines
Clean the beer lines after removing the faucet and keg coupler and soaking them. Place one end of the beer line in a bucket to allow it to empty. Then, secure the cleaning bottle tube’s end to the faucet’s aperture.
- Pump cleaning solution through the beer lines
Pump the cleaning solution into the beer line using your beer line cleaning kit. Use a container or a bucket to collect the cleaning solution that comes out of the keg coupler. You’ll be able to maintain tidiness throughout the cleaning procedure if you do it this way.
Also…
Connect the hose from the beer line cleaning kit can to the opening where the faucet head was removed. This will allow you to connect the cleaning kit and the beer tower directly. As a result, you’ll be able to clean the beer line up to the keg coupler. When you’re ready, tilt it and then let it go. You can also squeeze it to make the procedure go faster.
And remember!
After cleaning, make sure to rinse the chemicals out of the beer lines with water. To guarantee no cleaning solution remains in the lines, use a ph tester or litmus paper to check the ph level. Chemicals left behind can be hazardous and taint the beer.
- Check the parts
Check the different components of your kegerator before reassembling it. This is to ensure they are in good working order. Examine the rubber gasket as well as the O-rings. These wear out quickly, so replace them if they show wear or have been flattened.
Also…
Make sure that the O-rings are still lubricated with food-grade oil. Check the washers to ensure they are still in good working order.
- Reassemble your kegerator
Re-assembly of the faucet is required. Turn the coupling nut counterclockwise to reconnect it to your kegerator. Check to see if the sealing gasket is still in place. Connect the beer line and CO2 hose to the keg coupler. Re-tap your keg after turning the valve back on. You may need to use the spanner wrench again while reconnecting the faucet.
Now that everything’s back together, your job is to tighten it up as much as possible. The direction in which the faucet is tightened is counter-clockwise. As a result, you should turn the spanner wrench counterclockwise.
So, now that you clean your kegerator, you’re ready to enjoy a fresh keg of draft beer.
Conclusion: How To Clean Kegerator Beer Lines
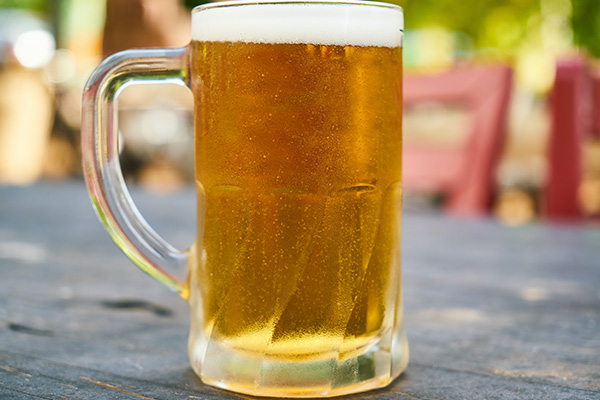
There’s nothing quite like a fresh, crisp draught beer on a hot summer day. The taste is expertly constructed with the proper amount of fizz and foam. And that flavor isn’t anything to mess with. Dirty beer lines may turn an enjoyable draught beer into a terrible experience. Keeping those lines clear is critical if you want your draught beer to taste crisp and pleasant.
These substances could affect your draft beer if you don’t clean your beer lines properly. Anyone can clean and disinfect their kegerator with these kegerator maintenance tools. A solid kegerator maintenance schedule will keep your beer flowing smoothly. All you need are the appropriate tools.
There are many cleaning kits available. This kegerator cleaning kit is one that I suggest.


