Being the result of a happy accident some thousands of years ago, sour beer is considered one of the oldest- if not the oldest- beer styles globally.
It’s that beer that everyone loves.
Beer enthusiasts love its complex layers and layers of different flavors, and beer newbies love how it’s more approachable and drinkable for beginners than other beers.
Although relatively old, America hasn’t been producing sour beers since about a couple of decades ago, and it’s still a new concept to some beer drinkers and brewers today.
Because of that…
…sour beers tend to be quite pricey.
And that’s why we resolved to share how we brew ours! Now, you can have your own fine glass of Berliner Weisse to be enjoyed at home or to be served to your guests.
Brewing sour beers aren’t very complex, though the process needs meticulous observation and monitoring, along with the additional bacteria and wild yeast that will make your beer sour.
So, if you’re ready…
…now, onto the wild stuff!
Sour Beers Style
As its name implies, sour beer is characterized by its tarty, tangy taste, and it’s also very acidic. You might also notice that there are many varieties of sour beer on the market today.
The truth is “sour beer” is just like an umbrella term to any particularly acidic beer and vibrant in flavor.
Sometimes, adding fruits such as cherry, raspberry, blueberry, blackberry, or peach helps achieve the perfect balance of sweetness and tartiness that a perfect sour beer should have.
So, what’s so special about sour beers?
Unlike your typical beer….
…you need to use wild yeast and bacteria to brew sour beer.
The resulting product should be crisp and tangy with a couple or three layers of sourness with little to no bitterness at all.
The bacteria or microbes that are typically mixed with the brew to achieve a perfectly drinkable tanginess are Lactobacillus (lactic acid) along with Pediococcus and Brettanomyces.
Some sour beers use a very limited amount of hops or none at all. Because of this, sour beer is one of the most approachable beers for beginners or non-drinkers.
As for the alcohol content…
…it’s pretty flexible. It can be as high as 8% ABV or as low as 2% ABV, depending on the brewing process and the condition it’s brewed in.
Because of its generally low alcohol content, this craft beer is widely considered as a session beer or one that you can drink continuously in a session without getting wasted.
Don’t you just love that?
How to recognize a sour beer?
Sour beer has many varieties today.
As a matter of fact, the Beer Judge Certification Program (BJCP) beer style guide acknowledges two different categories for a sour beer with nine completely different styles under them.
Aside from that…
…there’s also another sour beer category aptly named “Historical Beer.” So that makes ten all in all.
And all of them are just sour beer style!
But in case you’re wondering, a sour beer’s color generally ranges from pale straw to deep gold. Again, it’ll vary by the fermentation process or even age.
On the other hand, some German sour beers may also have brown to copper colors along with a rich malty flavor.
Some sour beer may also have a bit of a caramel or toffee flavor, which is also good. It usually has a light to medium foam head with good head retention.
Trivia:
Wondering how you will be able to know if what you’re getting is indeed a sour beer? Well, most craft brewers in the U.S would put “sour” in the beers’ labels to let the consumers know that they’re sour beer.
On the other hand, they can also come with the name “wild ale,” after the wild yeasts used in them.
You may also see something along the lines of “Brett Beer,” which refers to Brett or the wild yeast Brettanomyces.
Risks and Warning
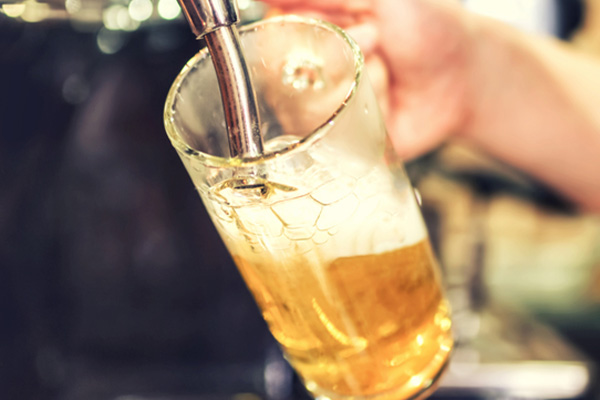
Before you brew your first with a sour beer recipe, you must also know its risks. But keep in mind that it’s actually not as scary as most people make it sound.
But then, you need to be aware of these things to avoid contaminating your whole homebrew system.
Take this:
That “horse blanket” of the wild yeast Brett or the bacteria Lactobacillus is usually very hard to remove and would most probably contaminate the next beer you’ll brew in the container you used these bacteria in.
After that, they would spread all over your brewery like wildfire, contaminating every brew and wort you have.
This is the reason why most homebrewers don’t recommend making sour beer at home, especially if you’re still a novice.
And we won’t deny that this is true.
However, sour beer has become so expensive that more and more people are now learning how to make it at home.
And there’s nothing wrong with it! After all, we’ve come to learn how to get around the contamination issue over time.
You can strategize the tools and equipment you’ll be using to minimize the number of those that will be discarded.
Tools And Supplies For Brewing Sour Beer Recipe
- 5-gallon brewing kettle or brewer
- Primary fermenter with bubbler
- Secondary fermenter with bubbler
- bottles
- Brewer’s Thermometer
- Long spoon or stirrer (must be stainless)
- Siphon
- Immersion chiller or ice
Sour Beer Recipe Ingredients
- Distilled water
- 6 lbs. Pilsner malt
- 5 lbs. Wheat malt
- ½ lb. rice hulls (optional)
- One packet of Omega Yeast Lacto Blend 605
- A packet of White Labs WLP001 or California Ale Yeast
Step-By-Step Sour Beer Recipe – Guide To Brew Kettle Sour Beer
Step 1: Prepare The Mash
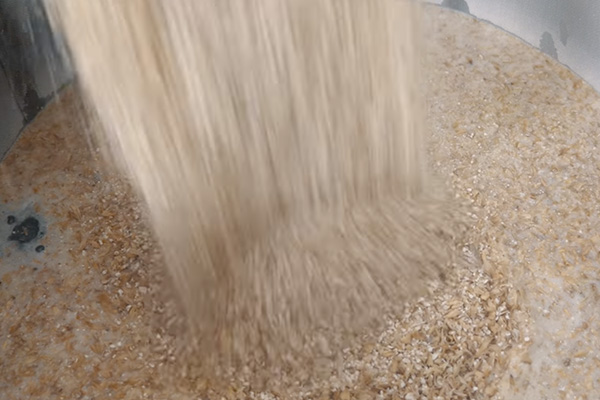
This is a basic all grain recipe, so we’ll use whole grains such as Pilsner and wheat malts. If you’re more used to malt extract, it’s also fine as the result is usually not that different.
To jumpstart the mashing process, heat your distilled water in the 5-gallon kettle or brewer at around 152 degrees Fahrenheit.
Add your Pilsner and wheat malts. You can also crush them beforehand.
If you want to be extra…
…you can use rice hulls and mix them with the grains so they wouldn’t clump or stick to the bottom of your mash tun. It’s optional, though, so if you can’t find any rice hulls near you, it’s okay, but it’s better to use them if you have the options.
Using your long stirrer or spoon, stir the mash consistently while bringing it to a boil. The grains should be completely submerged in water.
Maintain the temperature to 150 to 170 degrees Fahrenheit.
Wait, what about hops?
Well, adding hops isn’t very necessary in brewing sour beer. But you can add some if you prefer a bit of a hoppy flavor.
To make the sour beer style, it’s ideal to have only a few to no hop additions.
Originally…
…hops were added to beer in order to prevent microorganisms from spoiling it. The more bitter a beer is, the slower it is to spoil.
And a spoiled beer means a sour beer. So technically, hops have no business in sour beer brewing!
But some people found a way around it by using herbs instead of hops. I’ve tried using lemon verbena and rosemary before, and they actually gave a nice hoppy aroma and flavor without disrupting the necessary bacteria to make a sour beer.
Step 2: Heat The Sparge Water
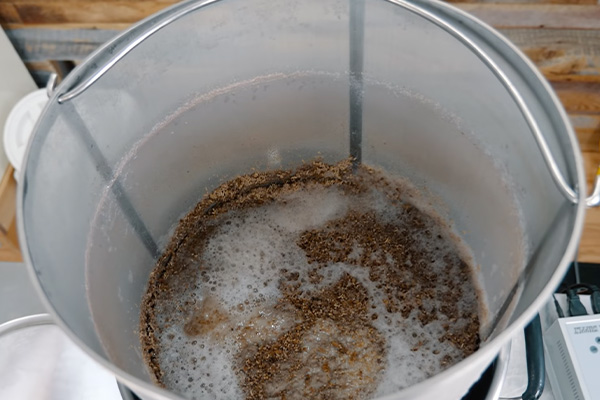
Now it’s time to sparge.
In case you didn’t know…
…sparging is a step that’s done to rinse any residual sugars off from the mash. To do this, you’ll have to spray or pour hot brewing water onto the grains, at the same time topping off an additional volume of water into your brew.
So while your mash is boiling, you can prepare your sparge water in the background.
In another brewing kettle (any kettle that’s large enough), heat your sparge water at 200 degrees Fahrenheit.
Thissour beer recipe aims for at least 5 gallons of beer, so make sure you have enough water because you’ll also be using your sparge water to add more volume to your hot wort.
To sparge…
…you can take half a gallon of wort from your mash and transfer it to a new sanitized bucket.
Lift the grains out (they should be in a drainer or a bag) and pour the wort over them, washing all the extra flavors.
Then use the sparge water to continue rinsing the grains. Do it until you achieve 5 gallons worth of wort.
Step 3: Boil The Wort
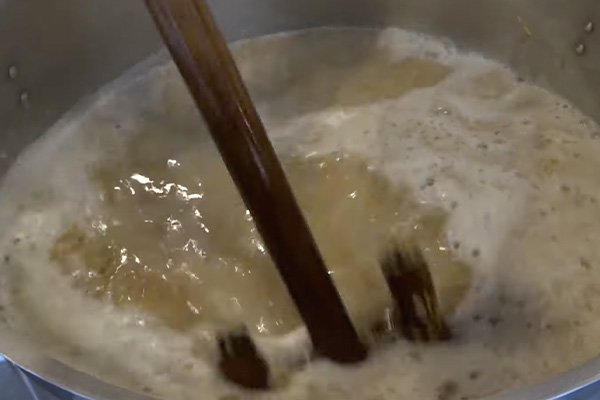
Now that you’ve accumulated 5 gallons of wort, you can now return it to the stove and let it boil. We do this to remove any microorganisms that can harm or spoil your beer.
Boil for an hour. If you’re using finings, you can add them 45 minutes into the boil or 15 minutes before the 1 hour boiling period ends.
Now it’s time to chill.
Chill your starter wort down to about 95 degrees Fahrenheit before pitching in the yeast. You can use an immersion chiller or just a simple ice bath for this.
After the temperature has gone down, you can add your yeast to your wort.
You need to make sure that it has cooled down because the hot liquid will most definitely kill the yeast enzymes, and your wort will not ferment into a beer.
Step 4: Add the Bacteria or Wild Yeast To The Wort
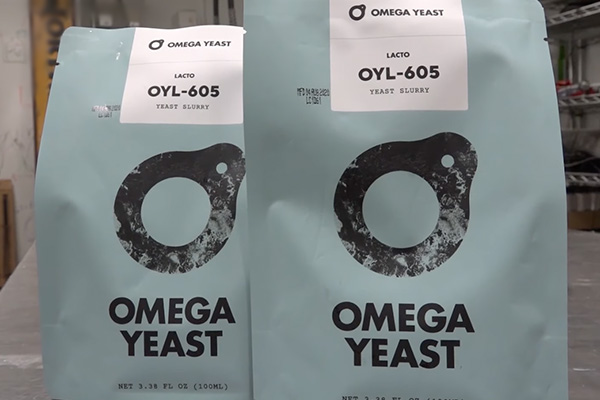
Now, this is the highlight of your brew, the bacteria that will sour your beer.
Typically…
…there are two kinds of bacteria and one yeast used to sour a beer.
The first one is the very well-known Lactobacillus. It’s responsible for converting the sugar in your wort into lactic acid, and it’s the acid that gives a beer that funky sour taste.
The second one is called Pediococcus, more commonly called Pedio.
Now, the wild yeast that’s usually used is called Brettanomyces or Brett for short.
If used wrongly, it can add a very unpleasant smell to your beer. Otherwise, it results in a nice earthy flavor to balance the sour flavor.
What if I can’t find any of these bacteria?
No problemo, buddy. There’s an alternative for that.
You can buy a bottle of sour beer instead and use that in your wort.
If you’re wondering how that makes sense, well, you only need a very little amount, about 20% of the volume.
So you get to drink a (pricey) fine sour beer and use most of it to make more!
Why not?
As for thissour beer recipe, we’re not using all of them. We only need a single packet of a Lacto Blend, and we’re good to go.
Now you can transfer the wort to a fermenter and let it rest in a warm, dark, and dry space for around 12 to 18 hours at around 82 to 85 degrees Fahrenheit.
Step 5: Add The Brewer’s Yeast
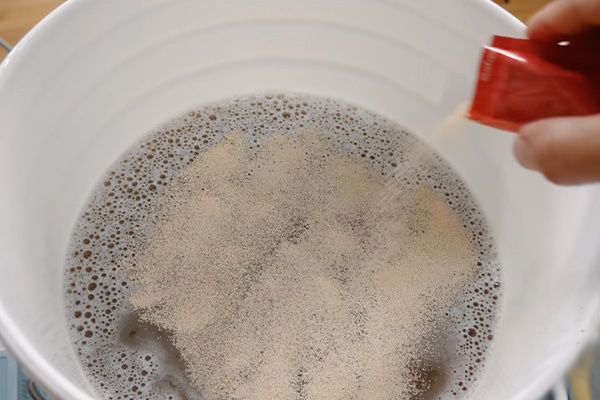
After letting it rest, you can finally pitch your yeast.
But before you do that…
…make sure to oxygenate the wort first by shaking it for more or less than 10 minutes. Your wort needs oxygen for the yeast to thrive and work happily.
Mix your brewer’s yeast with ¾ cup of water to activate it. Let it rest for 10 to 15 minutes.
After that, you can now pour it into the wort and give it a stir before sealing it in again.
Now it’s ready for fermentation!
Leave it in a warm, dry, and dark spot for around two weeks. You can check it out occasionally to see if the fermentation has been completed.
Once you see that no bubbles are coming up anymore, take it as a sign that the fermentation is complete. You can now taste your beer to gauge if it needs more time or if it’s ready to be enjoyed.
Step 6: Add Brettanomyces to the Primary Fermentation
Now, it’s Brett’s time. We’re adding this to give your fermented beer a nice earthy balance. Without it, your beer would be overly sour to the point of undrinkability.
Remember this:
…make sure not to expose your beer to oxygen as too much of it might ruin its carbonation and make the beer flat.
Add the Brettanomyces, transfer it to another carboy while filling the vessel to the brim, and then seal it again with an airlock.
Step 7: Store The Beer For Fermentation
After adding the Brett, it’s time for secondary fermentation. It usually takes 3 to 6 months, during which you’ll see bubbles rising up the bubbler. That means that the fermentation is being done right.
Again, when you see no more bubbles along with a darker color, that means that Brett has already done his job.
You can now do a taste test and decide.
If you’re not yet satisfied, you can always store it again and let it mature. Otherwise, you can now carbonate it, put it in a beer keg, or bottle it up.
Extra Tips
- To avoid contamination of your future brews and your whole brewery, you can use another set of brewing equipment apart from those that you normally use. This is especially important if you’re using anything with materials that are difficult to clean, such as rubber and plastic.
We do this to prevent the bacteria and wild yeast from going into the small crevices or scratches on the equipment’s surface and making a colony there.
- If you’re using a plastic bucket, make sure to use a new one that’s scratch-free. As for the kegs, stainless kegs are the ideal ones. If your keg has a rubber, you may also want to replace it.
- You can choose when to pitch your Brett in. But it’s always better to pitch it in the last possible step, so you’re contaminating only one vessel. You can throw that vessel out afterward, and it won’t be much of a loss.
And in the end, you’ll just have to throw out one of each piece of equipment at most or retain those that you trust have been cleansed and sanitized well.
Sour Beer Recipe Wrap Up
It’s a truth universally acknowledged: sour beer isn’t for everyone.
But the good news is there are many varieties for you to choose from! Thissour beer recipe is just the most basic one that you can practice before leveling up to the more complex ones.
Sour beer is an acquired taste…
…and fortunately, its style is flexible enough to allow us more ways to suit our preferences so more brewers can appreciate it.
That being said, the best thing to do is to do your homework first before diving into your brewery.
Souring a beer is a tricky business. You can either end up with a spoiled beer along with a spoiled brewery, or you can have gallons of the nice, vibrant, and flavorful finished beer you’re aiming for.
Thinking about it…
…sour beers are just one of the many magnificent products our ancestors have left us, and we’re fortunate to experience it at its peak!
So don’t be intimidated. Dive right in and brew this wild, wild thing with our sour beer recipe!


